Microsoft Entra ID SSO
Learn how to set up Microsoft Entra ID SSO (OIDC) for secure authentication.
cside lets you configure Microsoft Entra ID (formerly Azure AD) SSO to authenticate users into your cside organization.
When you enable Microsoft Entra ID SSO, anyone with your company email domain will be forwarded to authenticate with Microsoft Entra ID. This means you can use Entra ID to scope who can access cside, and when you allow someone, they will automatically be added to your cside organization with no permissions.
SSO configuration is only available to customers on the cside Enterprise plan. Please contact us to upgrade your plan if you don’t have access to SSO settings.
Requirements:
- cside Enterprise plan
- Organization Admin role in cside
- An already setup cside organization - the initial admin (you) will be the first user, and will be converted to SSO upon migration.
- Admin access to your Microsoft Entra ID tenant
Navigating to SSO Settings
You can open your organization settings directly, or navigate there manually:
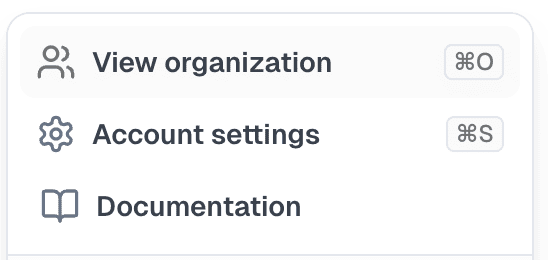
- Click on your account at the bottom left corner of the dashboard
- Select View organization
- Select Settings

- Navigate to the SSO tab
Create a Microsoft Entra ID Application
- Go to the Microsoft Entra admin center.
- Navigate to Entra ID > Enterprise apps > App registrations.
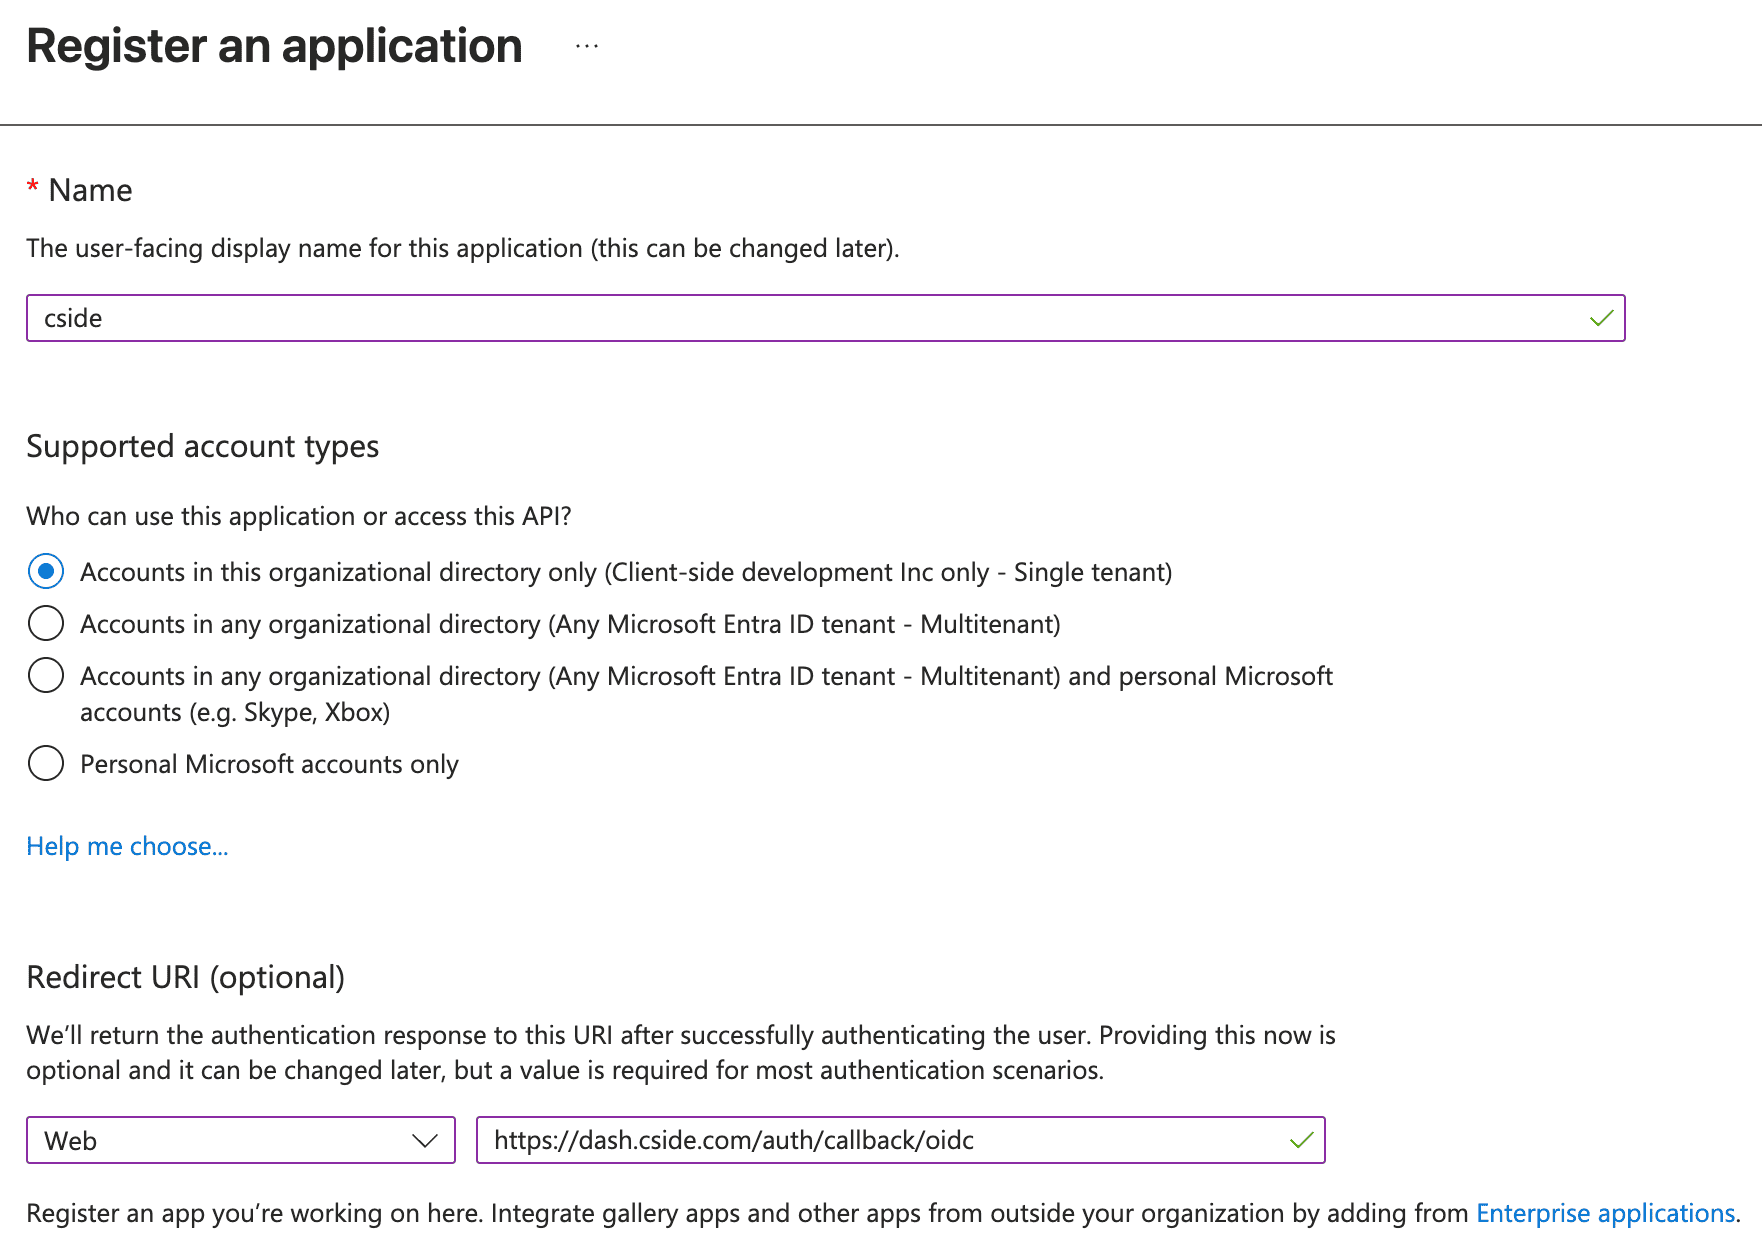
- Click New registration.
- Enter a name for the application (e.g., “cside”).
- Under Supported account types, select “Accounts in this organizational directory only”.
- Under Redirect URI, select “Web” and enter
https://dash.cside.com/auth/callback/oidc - Click Register.
Configure the Application
After creating the application, you’ll need to create a client secret:
- In your newly created app registration, go to Certificates & secrets.
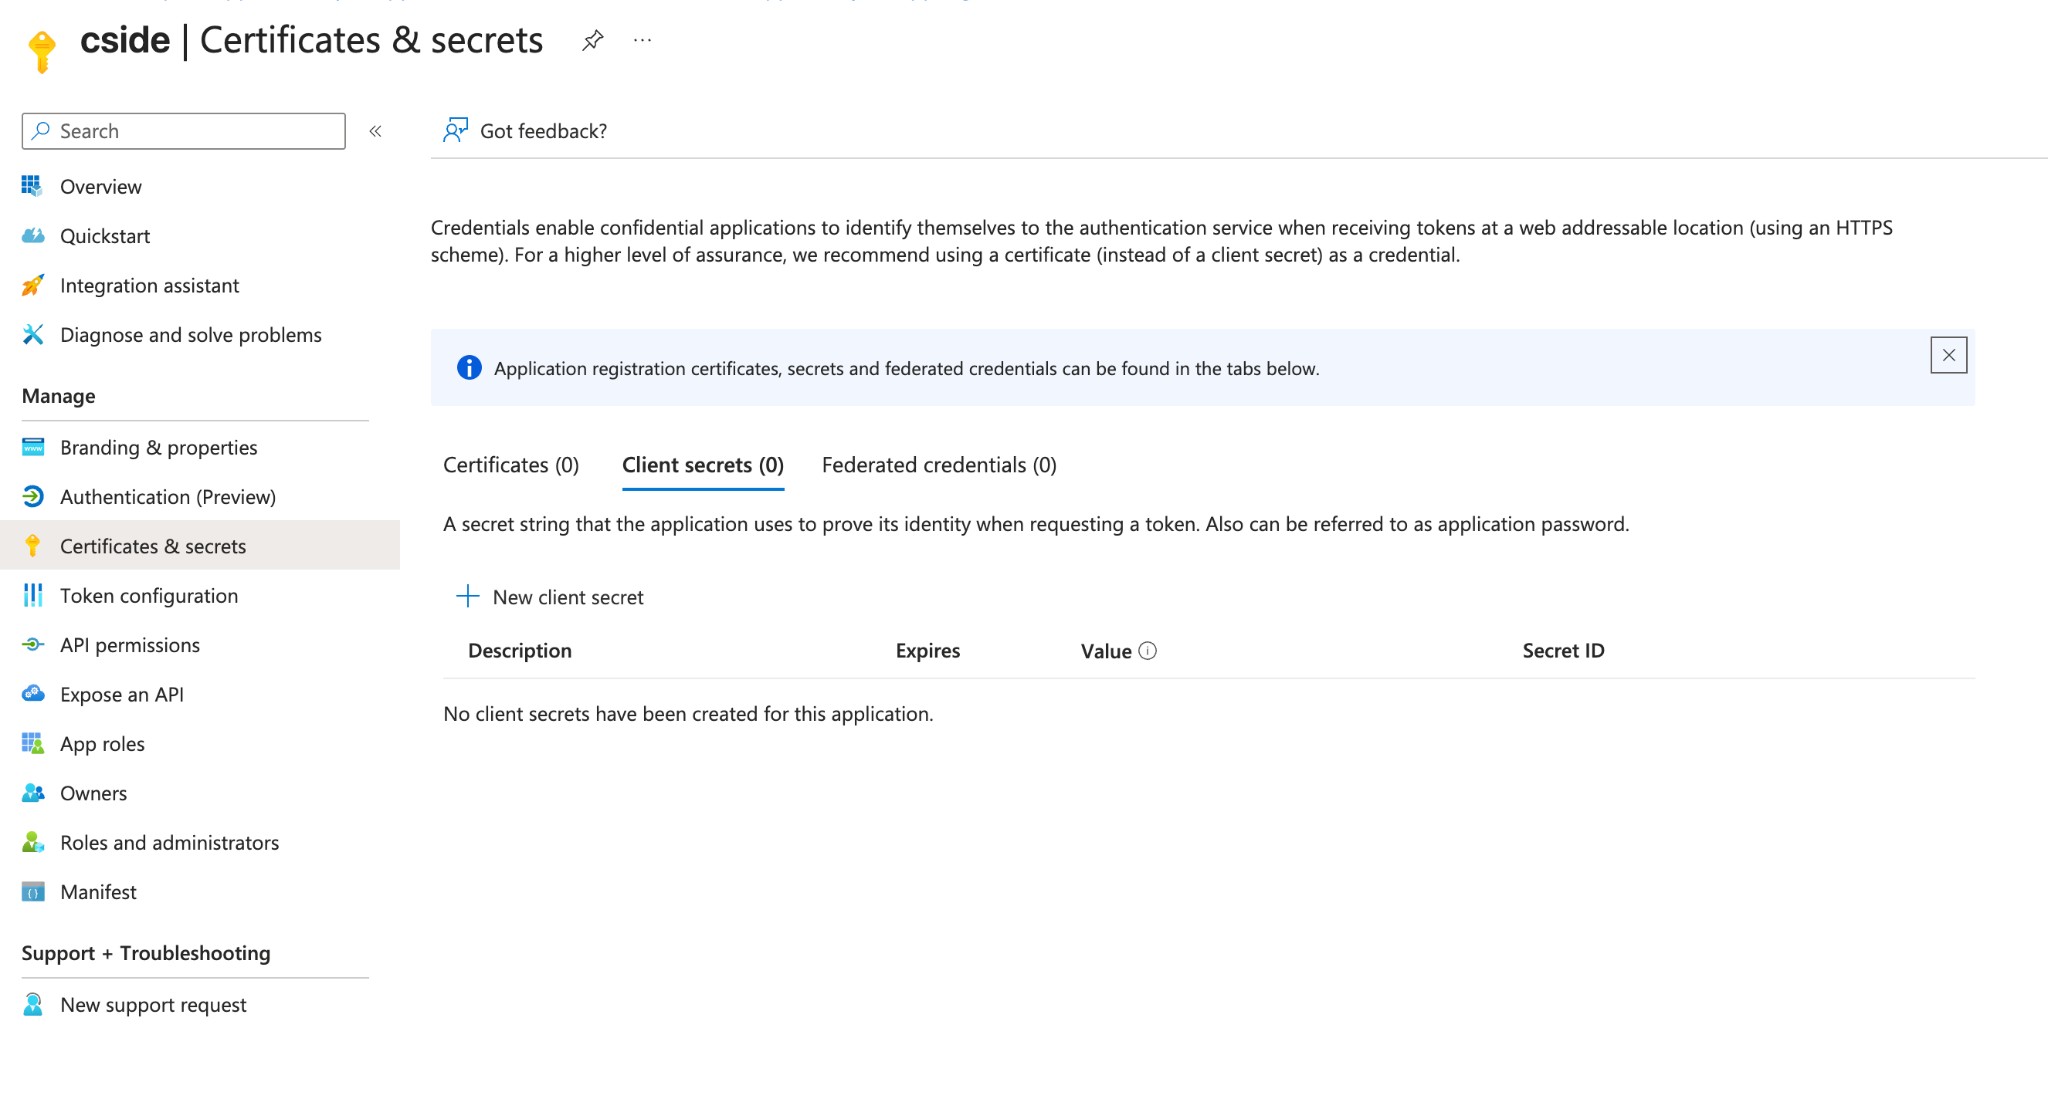
- Click New client secret.
- Add a description (e.g., “cside SSO”) and select an expiration period.
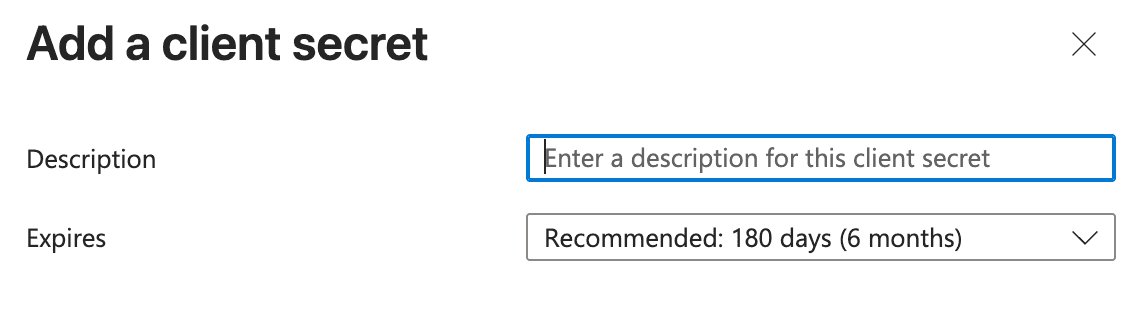
- Click Add.
- Important: Copy the secret value immediately - you won’t be able to see it again.
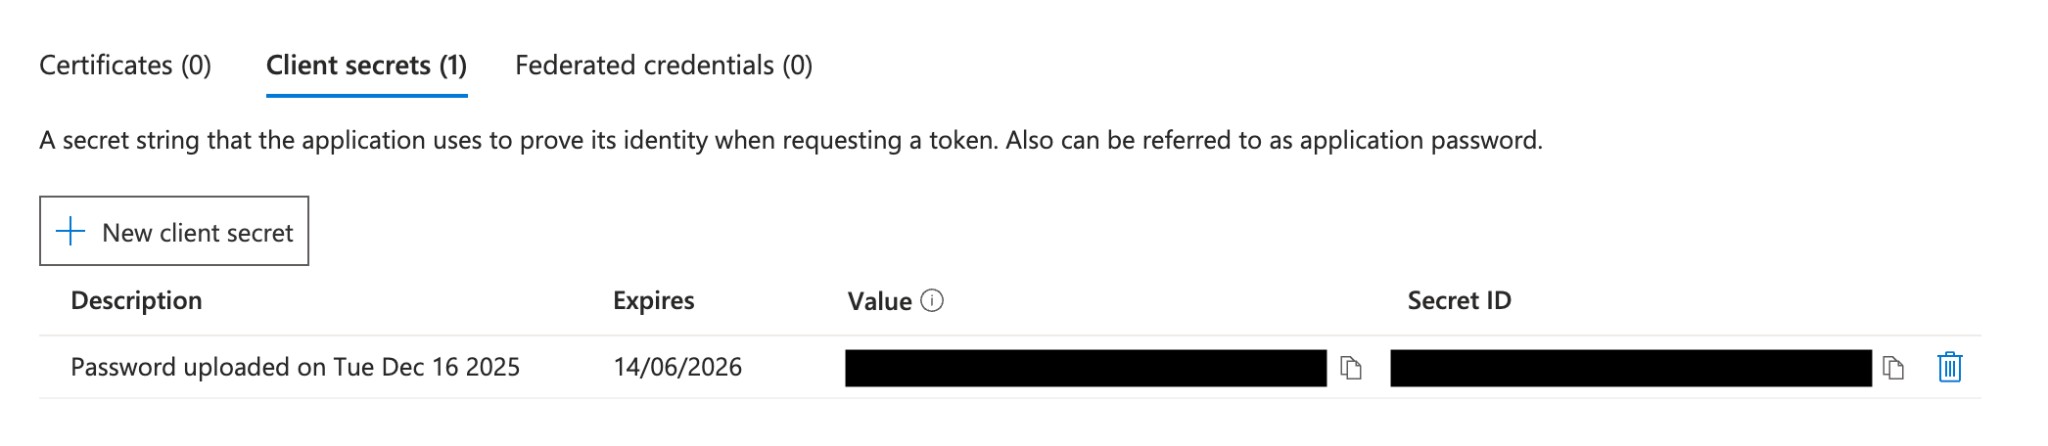
Make sure to copy the client secret value immediately after creation. You won’t be able to retrieve it later.
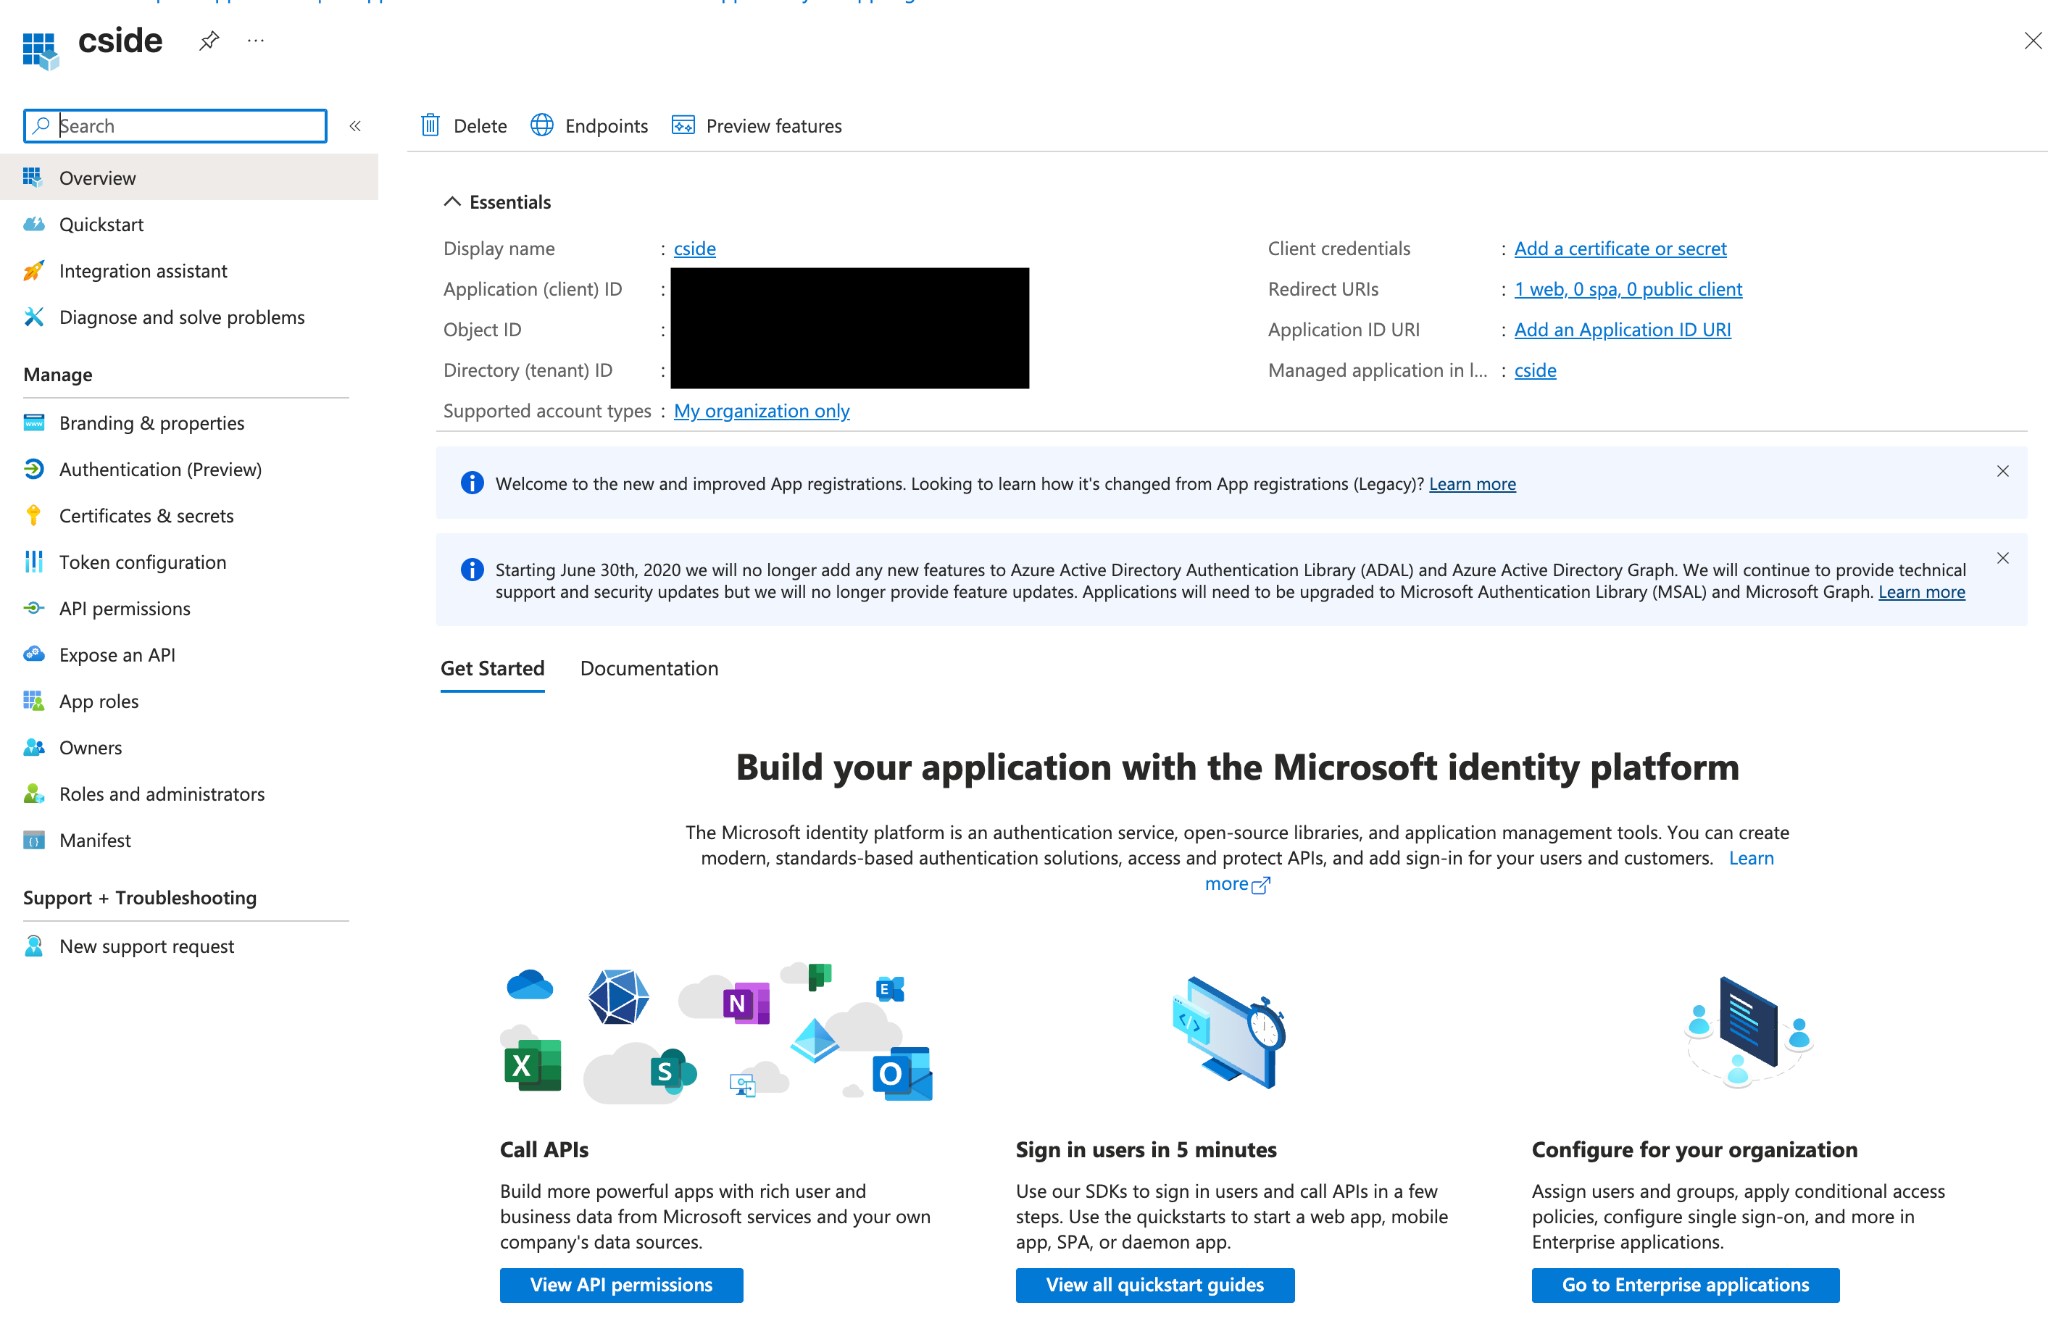
Obtain Required Details
You’ll need the following information to configure SSO in cside:
- Tenant ID: Found in the app registration overview page under “Directory (tenant) ID”
- Client ID: Found in the app registration overview page under “Application (client) ID”
- Client Secret: The value you copied when creating the client secret
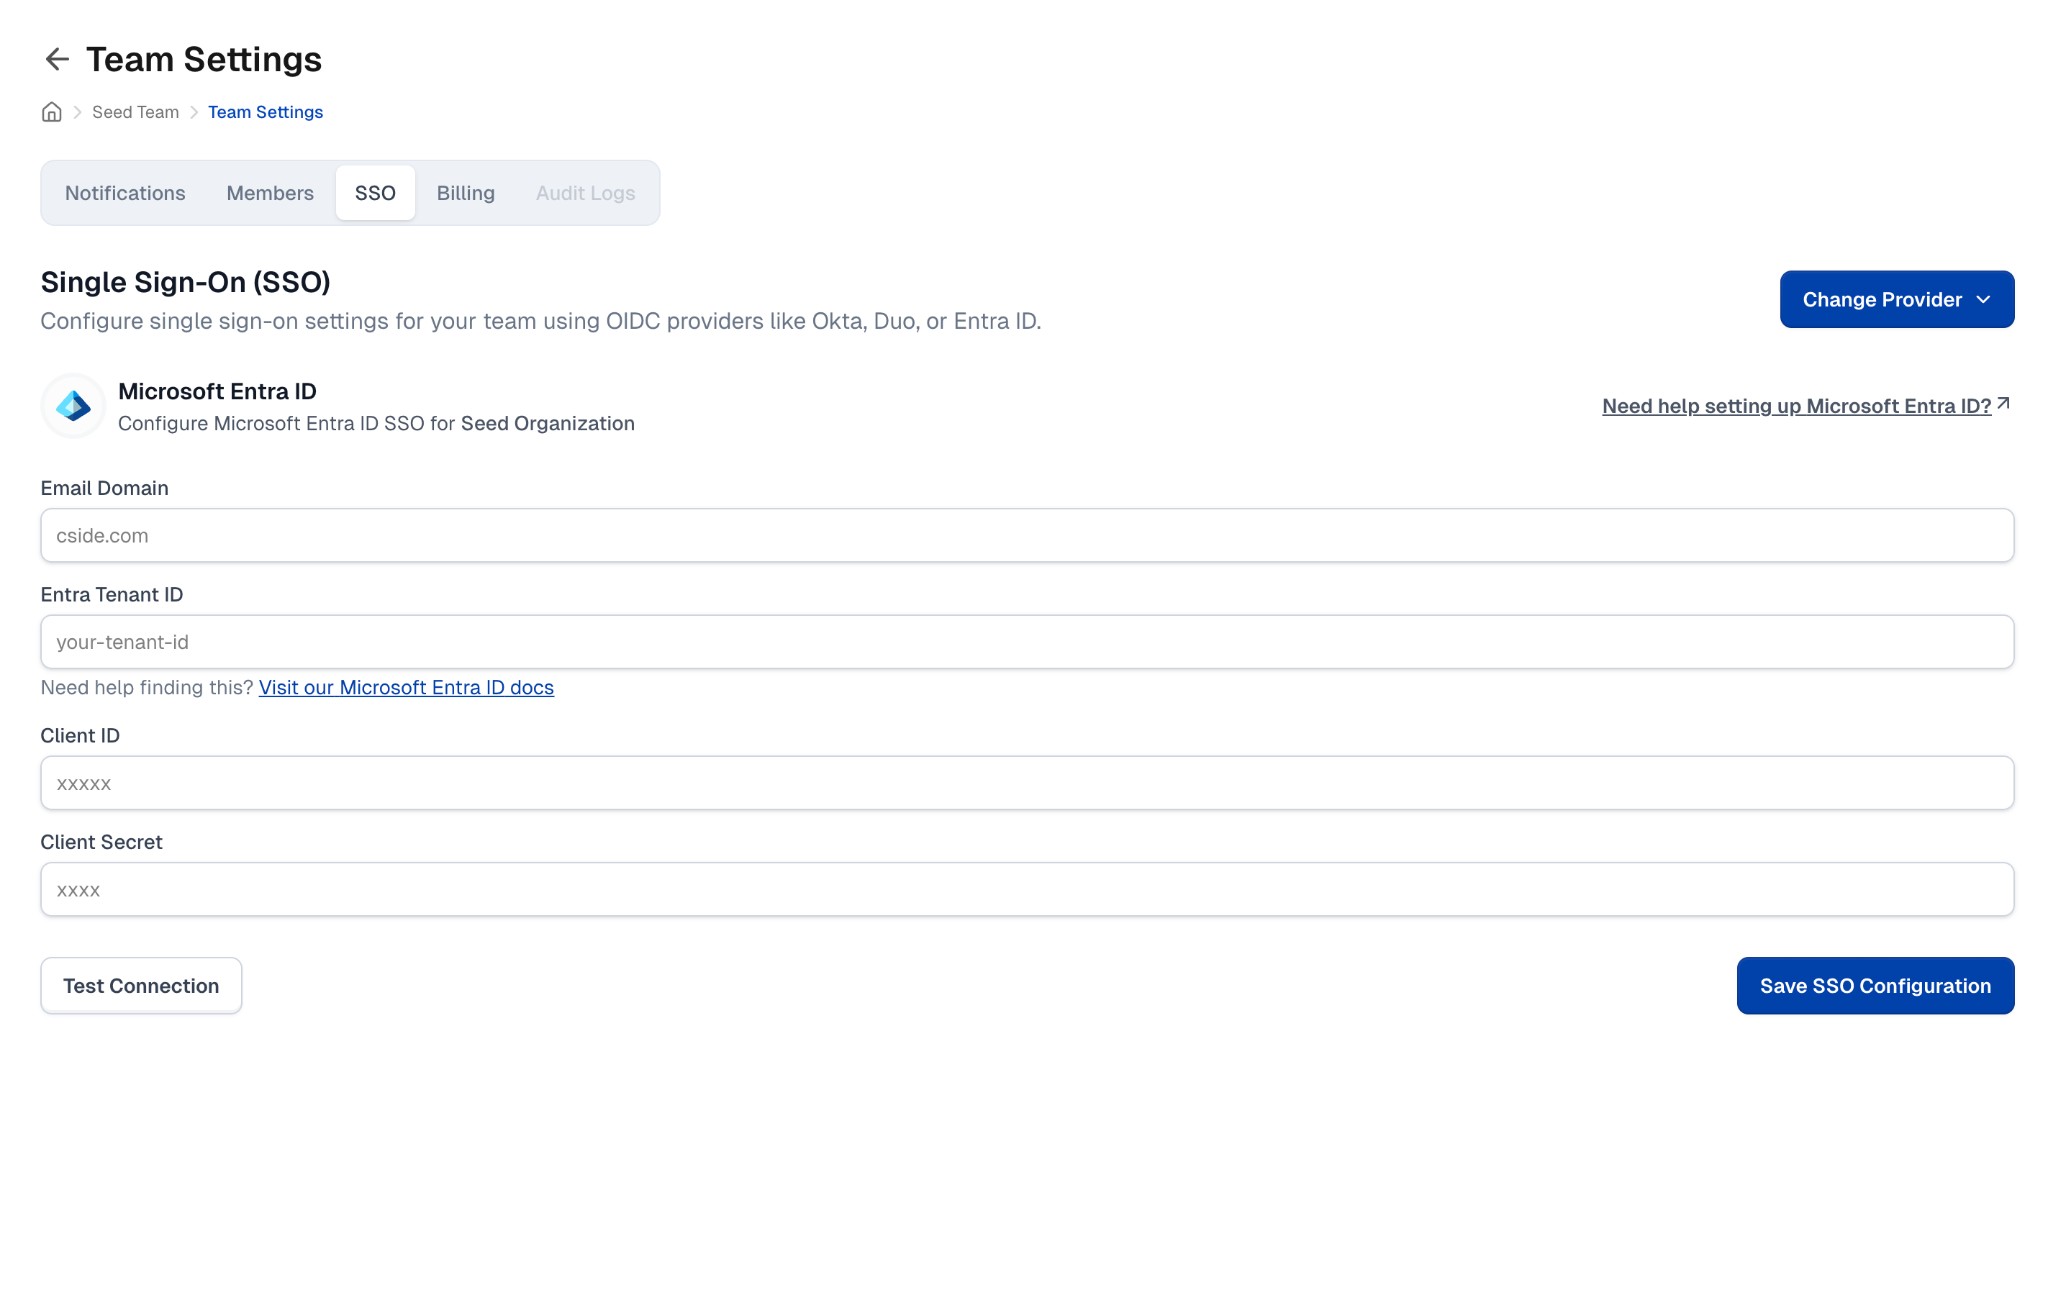
Configure SSO in cside
- Go to the cside dashboard.
- Navigate to the SSO settings as described in Navigating to SSO Settings.
- Click Select Provider (or Change Provider if you already have SSO configured) and select Microsoft Entra ID.
- Fill in the required fields:
- Email Domain: Your company’s email domain (e.g.,
example.com) - Entra Tenant ID: Your Microsoft Entra tenant ID
- Client ID: The application (client) ID from your app registration
- Client Secret: The client secret value you created
- Email Domain: Your company’s email domain (e.g.,
- Click Test Connection to verify the configuration.
- Once verified, click Save SSO Configuration.
Testing Your Configuration
After saving the SSO configuration, you can test it by:
- Opening a new incognito/private browser window
- Navigating to dash.cside.com
- Entering an email address with your configured domain
- You should be redirected to Microsoft for authentication
If you encounter any issues during setup, contact your cside representative for assistance.
Thanks for your feedback!